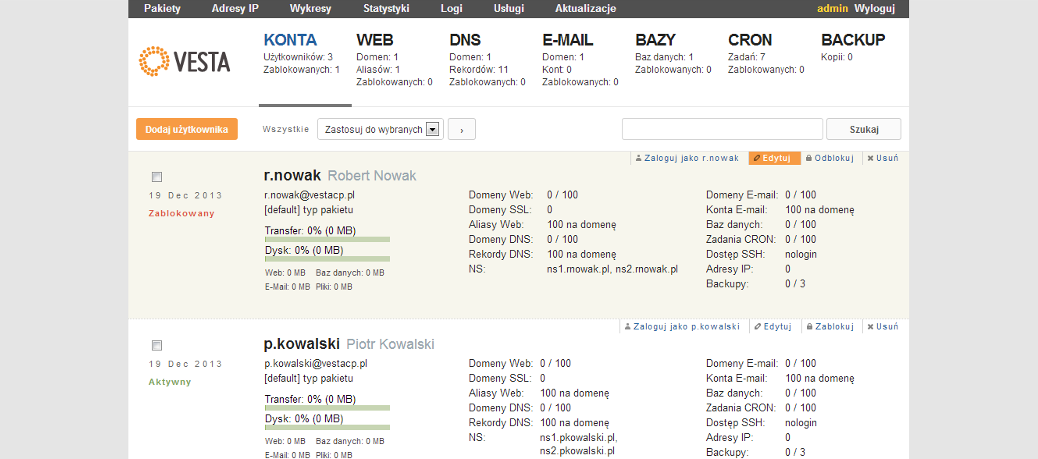
Hosting panel installation on Ubuntu VestaCP 18.04
The following guide describes the process of installing the panel vestaCP on a server running Ubuntu 18.04
Made in a few simple steps.
At the beginning of the renovation of repositories and make the whole system:
1 2 | apt-get update -y apt-get upgrade -y |
Charge installation package, we give permission and run:
1 | wget http://vestacp.com/pub/vst-install.sh |
1 | chmod 755 vst-install.sh |
1 | bash vst-install.sh |
We will see the installation window, click s programs
1 2 3 4 5 6 7 8 9 10 11 12 13 14 15 16 17 18 19 20 21 22 23 | _| _| _|_|_|_| _|_|_| _|_|_|_|_| _|_| _| _| _| _| _| _| _| _| _| _|_|_| _|_| _| _|_|_|_| _| _| _| _| _| _| _| _| _|_|_|_| _|_|_| _| _| _| Vesta Control Panel The following software will be installed on your system: - Nginx Web Server - Apache Web Server (as backend) - Bind DNS Server - Exim Mail Server - Dovecot POP3/IMAP Server - MySQL Database Server - Vsftpd FTP Server - Softaculous Plugin - Iptables Firewall + Fail2Ban Would you like to continue [y/n]: y |
The next step asks us to enter an e-mail server hostname
1 2 3 | Please enter admin email address: kontakt@serwerweb.pl Please enter FQDN hostname [vestacp.serwerweb.pl]: Installation backup directory: /root/vst_install_backups/1564552012 |
This is all we will do the script itself.
After the correct information, we should see a screen of data:
1 2 3 4 5 6 7 8 9 10 11 12 13 14 15 16 17 18 19 | _| _| _|_|_|_| _|_|_| _|_|_|_|_| _|_| _| _| _| _| _| _| _| _| _| _|_|_| _|_| _| _|_|_|_| _| _| _| _| _| _| _| _| _|_|_|_| _|_|_| _| _| _| Congratulations, you have just successfully installed Vesta Control Panel https://vestacp.serwerweb.pl:8083 username: admin password: admin@123 We hope that you enjoy your installation of Vesta. Please feel free to contact us anytime if you have any questions. Thank you. -- Sincerely yours vestacp.com team |


