Instalacja monitoringu Grafana 8 w systemie Ubuntu 22.04
rafana to bezpłatne narzędzie do wizualizacji danych o otwartym kodzie źródłowym, które służy do monitorowania innych hostów.
Poniżej jego sposób instalacji.
Uruchamiamy terminal i dokonujemy aktualizacji pakietów poleceniem:
1 | apt-get update -y |
Instalujemy niezbędne pakiety:
1 | apt-get install gnupg2 curl wget git software-properties-common -y |
Pobieramy i instalujemy repozytorium grafany:
1 2 | curl https://packages.grafana.com/gpg.key | apt-key add - add-apt-repository "deb https://packages.grafana.com/oss/deb stable main" |
Ponownie dokonujemy aktualizacji pakietów:
1 | apt-get update -y |
I instalujemy Grafanę:
1 | apt-get install grafana -y |
Uruchamiamy ją w systemie:
1 | systemctl start grafana-server |
1 | systemctl enable grafana-server |
Instalujemy Nginx jako proxy dla grafany:
1 | apt-get install nginx -y |
Tworzymy vhosta:
1 | nano /etc/nginx/conf.d/grafana.conf |
O zawartości:
1 2 3 4 5 6 7 8 9 10 11 12 13 | server { server_name grafana.naszadomena.pl; listen 80; access_log /var/log/nginx/grafana.log; location / { proxy_pass http://localhost:3000; proxy_set_header X-Forwarded-Host $host:$server_port; proxy_set_header X-Forwarded-Server $host; proxy_set_header X-Forwarded-For $proxy_add_x_forwarded_for; } } |
Sprawdzamy poprawność konfiguracji nginx wydając polecenie:
1 | nginx -t |
Jeśli wszystko jest ok jak w tym przypadku:
1 2 | nginx: the configuration file /etc/nginx/nginx.conf syntax is ok nginx: configuration file /etc/nginx/nginx.conf test is successful |
Przeładowujemy nginxa
1 | systemctl restart nginx |
Jeśli wszystko przebiegło poprawnie i przekierowaliśmy wcześniej subdomenę rekordem A w strefie dns na ip serwera czyli
grafana A IP serwera
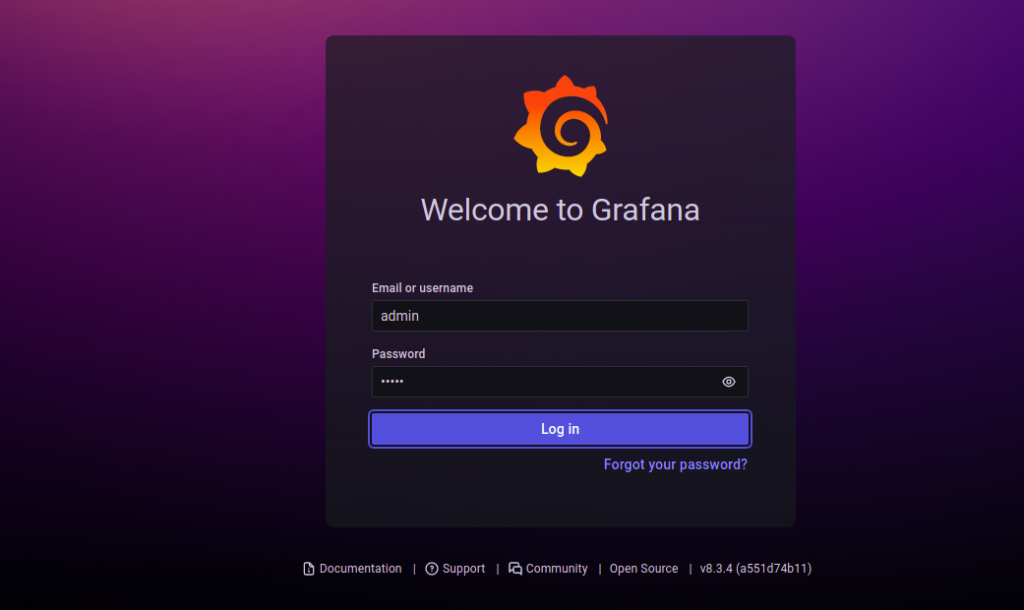
Po przejściu pod adres grafana.naszadomena.pl
Powinniśmy zobaczyć coś takiego:

Podajemy swoją nazwę użytkownika i hasło.
Kolejny krok to zmiana hasła.
Jeśli wszystko przebiegło poprawnie powinniśmy zobaczyć pulpit nawigacyjny grafany.
Jako dodatek możemy całość zabezpieczyć certyfikatem Let’s Encrypt
Instalujemy niezbędne pakiety:
1 | apt-get install certbot python3-certbot-nginx -y |
I wykonujemy skrypt:
1 | certbot --nginx -d grafana.naszadomena.pl |
Po drodze akceptujemy warunki licencji
1 2 3 4 5 6 | Please read the Terms of Service at https://letsencrypt.org/documents/LE-SA-v1.2-November-15-2017.pdf. You must agree in order to register with the ACME server at https://acme-v02.api.letsencrypt.org/directory - - - - - - - - - - - - - - - - - - - - - - - - - - - - - - - - - - - - - - - - (A)gree/(C)ancel: A |
Ostatni krok to zaznaczenie aby przkeierowało ruch na https://
1 2 3 4 5 6 7 | - - - - - - - - - - - - - - - - - - - - - - - - - - - - - - - - - - - - - - - - 1: No redirect - Make no further changes to the webserver configuration. 2: Redirect - Make all requests redirect to secure HTTPS access. Choose this for new sites, or if you're confident your site works on HTTPS. You can undo this change by editing your web server's configuration. - - - - - - - - - - - - - - - - - - - - - - - - - - - - - - - - - - - - - - - - Select the appropriate number [1-2] then [enter] (press 'c' to cancel): 2 |
i dwa razy klikamy enter.


