Installazione di monitoraggio Grafana 8 Ubuntu 22.04
rafana è uno strumento di visualizzazione dei dati gratuito e open source, Grafana è uno strumento di visualizzazione dei dati gratuito e open source.
Di seguito è riportato il suo metodo di installazione.
Avviamo il terminale e aggiorniamo i pacchetti con il comando:
1 | apt-get update -y |
Installiamo i pacchetti necessari:
1 | apt-get install gnupg2 curl wget git software-properties-common -y |
Scarichiamo e installiamo il repository Grafany:
1 2 | curl https://packages.grafana.com/gpg.key | apt-key add - add-apt-repository "deb https://packages.grafana.com/oss/deb stable main" |
Stiamo aggiornando di nuovo i pacchetti:
1 | apt-get update -y |
E installiamo Grafana:
1 | apt-get install grafana -y |
Lo eseguiamo nel sistema:
1 | systemctl start grafana-server |
1 | systemctl enable grafana-server |
Installiamo Nginx come proxy per grafans:
1 | apt-get install nginx -y |
Creiamo un vhost:
1 | nano /etc/nginx/conf.d/grafana.conf |
il contenuto:
1 2 3 4 5 6 7 8 9 10 11 12 13 | server { server_name grafana.naszadomena.pl; listen 80; access_log /var/log/nginx/grafana.log; location / { proxy_pass http://localhost:3000; proxy_set_header X-Forwarded-Host $host:$server_port; proxy_set_header X-Forwarded-Server $host; proxy_set_header X-Forwarded-For $proxy_add_x_forwarded_for; } } |
Convalidiamo la configurazione di nginx emettendo il comando:
1 | nginx -t |
Se tutto va bene come in questo caso:
1 2 | nginx: the configuration file /etc/nginx/nginx.conf syntax is ok nginx: configuration file /etc/nginx/nginx.conf test is successful |
Stiamo ricaricando nginx
1 | systemctl restart nginx |
Se tutto è andato bene e abbiamo reindirizzato il sottodominio con il record A nella zona DNS all'ip del server, ad es.
grafana A dell'IP del server
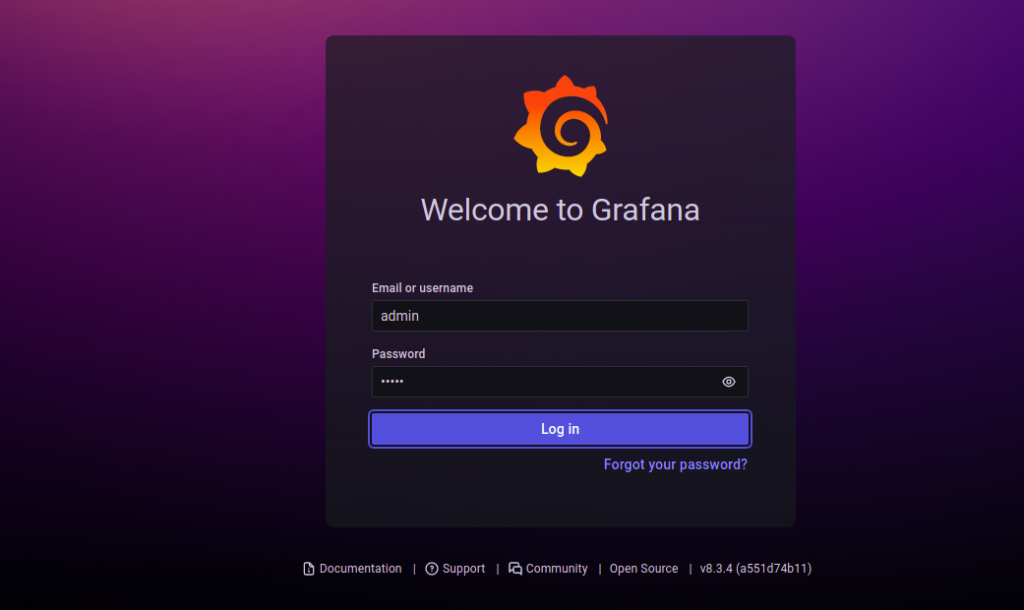
Dopo essere andato all'indirizzo grafana.naszadomena.pl
Dovremmo vedere qualcosa del genere:

Inseriamo il tuo nome utente e password.
Il prossimo passo è cambiare la password.
Se tutto è andato bene, dovresti vedere la dashboard di Graphany.
Inoltre, possiamo proteggere il tutto con un certificato Let's Encrypt
Installiamo i pacchetti necessari:
1 | apt-get install certbot python3-certbot-nginx -y |
Quindi andiamo nella posizione eseguendo il comando:
1 | certbot --nginx -d grafana.naszadomena.pl |
Lungo la strada, accettiamo i termini della licenza
1 2 3 4 5 6 | Please read the Terms of Service at https://letsencrypt.org/documents/LE-SA-v1.2-November-15-2017.pdf. You must agree in order to register with the ACME server at https://acme-v02.api.letsencrypt.org/directory - - - - - - - - - - - - - - - - - - - - - - - - - - - - - - - - - - - - - - - - (A)gree/(C)ancel: A |
L'ultimo passaggio è contrassegnare il traffico su https://
1 2 3 4 5 6 7 | - - - - - - - - - - - - - - - - - - - - - - - - - - - - - - - - - - - - - - - - 1: No redirect - Make no further changes to the webserver configuration. 2: Redirect - Make all requests redirect to secure HTTPS access. Choose this for new sites, or if you're confident your site works on HTTPS. You can undo this change by editing your web server's configuration. - - - - - - - - - - - - - - - - - - - - - - - - - - - - - - - - - - - - - - - - Select the appropriate number [1-2] then [enter] (press 'c' to cancel): 2 |
e fare clic due volte su Invio.


